


Mastering equalization can transform mediocre audio into professional-quality sound. Every great mix relies on proper EQ techniques to create clarity, depth, and balance between instruments and vocals.
Equalization lets you adjust specific frequencies to shape audio's tonal characteristics, giving you control over brightness, warmth, and clarity while ensuring each element sits perfectly in the mix. Modern EQ tools range from simple bass and treble controls to sophisticated parametric and dynamic equalizers that offer precise frequency manipulation.
Learning to EQ effectively opens up endless possibilities in audio production. Whether you're mixing music, podcasts, or sound design, understanding how to balance frequencies properly will enhance your productions in no time. This guide walks you through essential EQ concepts and techniques you can start applying immediately.
Key Takeaways / TL;DR
- EQ shapes tonal balance by boosting or cutting specific frequencies
- Each instrument needs its own frequency space to create clarity in the mix
- Strategic EQ decisions improve overall sound quality and professional polish
1
Understanding Audio Equalization Basics
EQ (equalization) shapes sound by adjusting specific frequencies within the audio spectrum from 20 Hz to 20 kHz. This fundamental audio processing tool helps create clarity and balance in any mix.
What Is An Equalizer?
An equalizer is an audio processing tool that lets you precisely control the volume of individual frequency ranges within a sound. It acts like a specialized volume control for specific parts of the frequency spectrum.
EQ can boost weak frequencies, cut problematic ones, and sculpt the tonal character of instruments and vocals. Modern equalizers come in hardware and software forms, offering precise control over sound manipulation.
Professional audio engineers use EQ to:
- Fix recording problems
- Remove unwanted frequencies
- Create space for instruments in a mix
- Enhance desired sonic characteristics
Types Of EQ Filters
The main types of EQ filters serve different purposes in audio processing:
High-Pass Filter (HPF): Removes frequencies below the cutoff point while allowing higher frequencies to pass through.
Low-Pass Filter (LPF): Eliminates frequencies above the cutoff point while preserving lower frequencies.
Band-Pass Filter: Allows a specific range of frequencies to pass while attenuating frequencies above and below.
Shelving EQ: Boosts or cuts all frequencies above or below a certain point, similar to traditional bass and treble controls.
Frequency Ranges Explained
The audio frequency spectrum divides into distinct ranges:
Sub-Bass: 20-60 Hz
- Creates foundational rumble and power
- Found in kick drums and bass instruments
Bass: 60-250 Hz
- Provides fundamental notes
- Adds warmth and fullness to sound
Mid-Range: 250-2000 Hz
- Contains vocal clarity and instrument body
- Critical for mix definition
High-Mid: 2-8 kHz
- Adds presence and articulation
- Controls instrument attack and clarity
High Frequencies: 8-20 kHz
- Creates air and brilliance
- Affects cymbal shimmer and vocal sibilance
The Psychology Of Sound Perception
The human ear processes different frequencies with varying sensitivity levels. The ear is most sensitive to frequencies between 2-5 kHz, which explains why EQ adjustments in this range can dramatically change perceived sound quality.
Masking occurs when louder sounds hide quieter ones in the same frequency range. EQ helps prevent masking by carving out space for each element.
Our brains interpret small EQ changes differently across the frequency spectrum. A 3 dB boost at 100 Hz might seem subtle, while the same boost at 3 kHz could sound dramatic.

2
Essential EQ Techniques For Mixing
Proper EQ techniques form the foundation of professional mixing. These approaches help achieve clarity, separation, and balance between tracks while maintaining each sound's natural character.

Starting With A Flat EQ Response
Start every mixing session by resetting all EQ settings to neutral. This gives you a clean slate and prevents previous adjustments from compounding.
A flat response allows you to hear the true characteristics of each track. Listen carefully to the unprocessed audio before making any EQ decisions.
Use high-quality monitoring equipment and a treated room when possible. Clearer, more accurate monitoring enables better EQ choices.
Subtractive Vs. Additive EQ
Subtractive EQ typically produces more natural results than boosting. Cut unwanted frequencies rather than boosting desired ones.
When cutting, use narrower Q settings to target specific problem areas. For boosts, use wider Q settings to maintain a more musical sound.
Start with cuts of -3dB to -6dB. Make larger cuts only when necessary to fix serious issues.
The professional approach to EQ focuses on removing problematic frequencies before considering boosts.
Discover Best Audio Gear & Equipment


Finding Problem Frequencies
Use the sweep technique: boost a narrow band by 6-10dB and sweep through frequencies while listening for harsh or resonant areas.
Common problem areas to check:
- 200-300 Hz: muddy frequencies
- 400-800 Hz: boxy sounds
- 2-4 kHz: harsh frequencies
- 5-8 kHz: sibilance issues
Take frequent breaks to avoid ear fatigue. Short listening sessions help maintain objectivity.
Creating Space In The Mix
Apply high-pass filters to remove unnecessary low frequencies from non-bass elements. This creates room for kick drums and bass instruments.
Create frequency notches in competing instruments. If two instruments fight for the same frequency range, cut slightly in one to make room for the other.
Use complementary EQ moves across related tracks. When boosting one instrument at a specific frequency, consider cutting competing instruments at the same frequency.
3
How To Apply Equalization Step-By-Step
Professional EQ techniques follow a systematic approach. Good equalization requires careful attention to frequency ranges and how they interact within the mix.
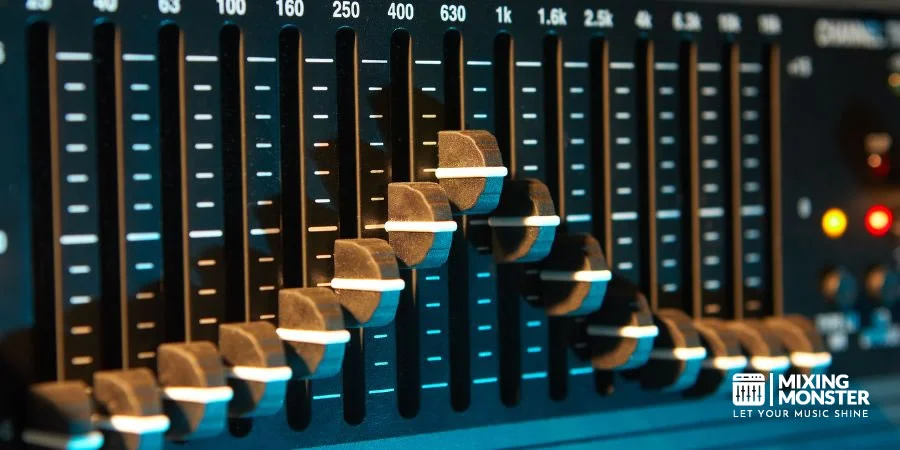
Step 1: Apply High-Pass Filtering
Start by removing unnecessary low frequencies that muddy the mix. Apply a high-pass filter to every track except bass-focused elements.
Set the filter between 20-40 Hz for kick drums and bass instruments. Other instruments can be filtered higher - around 100 Hz for guitars, 150-200 Hz for vocals.
Use a steep slope (24 dB/octave) for precise cuts on problem frequencies. A gentler slope (12 dB/octave) works better for natural-sounding results on most instruments.
Step 2: Identify Problem Frequencies
Listen critically to each track in the full mix. Use a parametric EQ with visual feedback to spot problematic frequencies.
Common problem areas include:
- 200-300 Hz: Muddiness
- 400-500 Hz: Boxiness
- 2-3 kHz: Harshness
- 5-7 kHz: Sibilance
Use the sweep technique: boost a narrow band by 6-10 dB and sweep through frequencies to locate issues.
Your Song Mixed & Mastered By Mixing Monster


Step 3: Make Surgical Cuts
Cut problem frequencies with narrow Q values (0.5-1.5) to target specific issues. Make precise reductions of 2-4 dB.
Focus on removing unwanted resonances and masking frequencies. Address one issue at a time and validate changes in the context of the full mix.
Take frequent breaks to avoid ear fatigue. Small adjustments often yield better results than dramatic cuts.
Step 4: Apply Gentle Boosts
Use broad Q values (1.5-2.5) for boosting to keep the sound natural. Keep boosts under 3-4 dB unless necessary.
Target these frequency ranges for common enhancements:
- 80-100 Hz: Bottom end weight
- 3-5 kHz: Presence
- 10-12 kHz: Air and sparkle
Step 5: Final Balance Check
Listen to the mix on different systems to ensure EQ decisions translate well. Compare the processed audio with the unprocessed version.
Monitor the mix at different volume levels. Pay special attention to frequency balance between instruments.
Make subtle adjustments based on these checks. Focus on achieving clarity and separation between elements while maintaining a cohesive sound.

4
EQ Techniques For Different Sound Sources
Equalizing different instruments requires specific approaches for each frequency range and sound characteristic. Each instrument occupies its own sonic space and needs targeted EQ adjustments to sit properly in the mix.
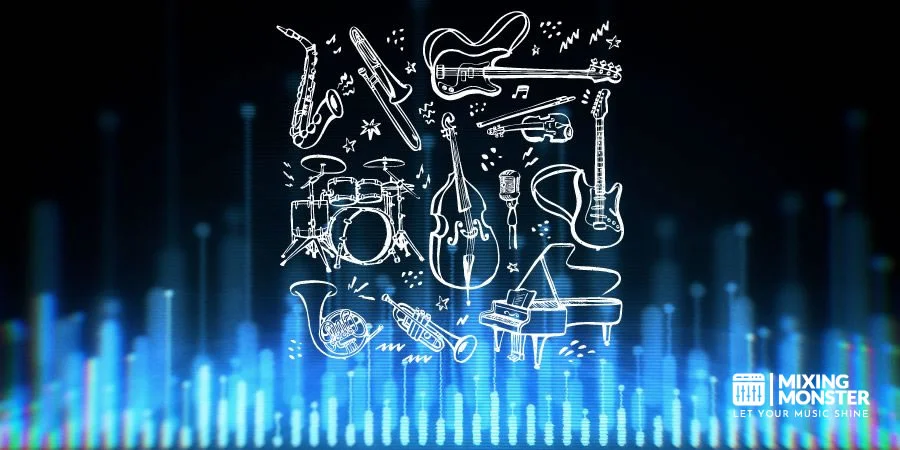
Drums And Percussion EQ
The kick drum typically needs a boost around 50-100 Hz for power and 4-5 kHz for beater attack. Cut muddy frequencies between 200-400 Hz.
Snare drums benefit from boosts at 200-250 Hz for body and 3-5 kHz for snap. Remove boxiness by cutting around 400-600 Hz.
Hi-hats and cymbals often need high-frequency enhancement above 10 kHz for air and sparkle. Cut harsh frequencies around 2-4 kHz.
Room mics might need low-cut filters below 100 Hz to remove rumble. Enhance room ambiance with gentle boosts around 2-3 kHz.
Bass And Low-End Instruments
Bass guitar fundamentals live between 40-100 Hz. Boost here for weight, but be careful not to overpower the mix.
Cut frequencies around 200-400 Hz to prevent muddiness with other instruments. Add presence with subtle boosts at 700-1000 Hz.
Dynamic EQ techniques help control inconsistent bass notes. Apply gentle compression alongside EQ for even response.
For synthetic bass, use steep high-pass filters above 30 Hz to remove sub-frequencies that most systems can't reproduce.
Related Articles
Guitar And Mid-Range Instruments
Electric guitars need careful treatment in the 2-4 kHz range to prevent harshness. Focus on the 250-500 Hz range for warmth.
Acoustic guitars benefit from subtle boosts around 100-200 Hz for body and 4-6 kHz for string detail.
Cut competing frequencies when multiple guitars are present. Use different frequency ranges for rhythm and lead parts.
Apply high-pass filters at 80-100 Hz to remove unnecessary low end that can conflict with bass instruments.
Synths And Electronic Elements
Modern synthesizers often have excessive low end. Use high-pass filters to keep only the essential frequencies.
Live sound requires different EQ approaches for synths than studio settings.
Create space for other instruments by making strategic cuts in the synth's dominant frequencies.
Layer sounds by EQing each element to occupy its own frequency range—cut competing frequencies between layers rather than boosting.

5
Advanced EQ Mixing Strategies
Advanced EQ techniques enhance mix clarity and control while providing precise frequency manipulation tools. These methods give engineers granular control over stereo field, dynamics, and frequency balance.
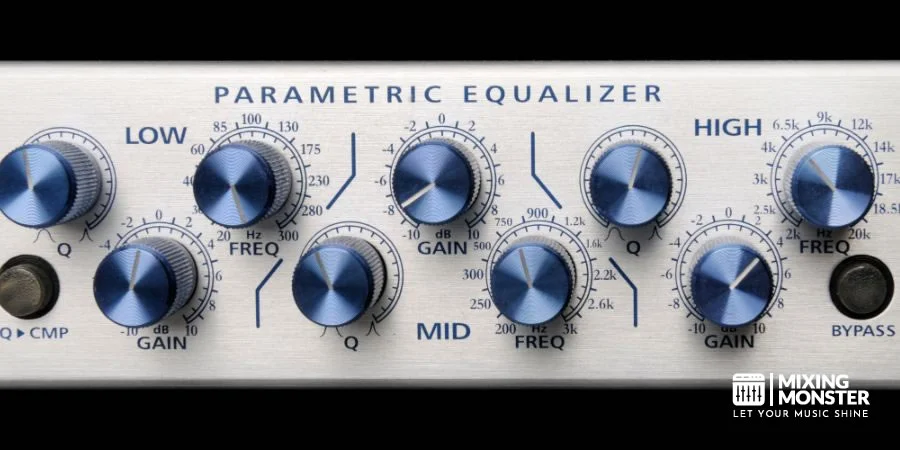
Dynamic EQ Applications
Dynamic EQ responds to input level changes, automatically adjusting frequency cuts or boosts based on the signal's amplitude. This adaptive behavior makes it ideal for controlling inconsistent sources.
Dynamic EQ effectively controls problematic resonances without affecting the sound when the issue isn't present. It excels at taming harsh vocals and controlling boomy bass notes.
Key applications:
- De-essing vocals with frequency-specific compression
- Controlling resonant frequencies in guitars
- Managing low-end buildup in bass instruments
- Taming cymbal bleed in drum overheads
Mid-Side EQ Processing
Mid-side EQ transforms stereo processing into a powerful spatial tool. The mid channel contains center-panned elements, while the side channel handles stereo information.
Engineers can enhance stereo width by boosting high frequencies in the side channel while maintaining mono compatibility through the mid channel.
Common applications:
- Widening reverb tails above 5kHz
- Tightening bass frequencies in the mid channel
- Creating space for vocals in the center
- Enhancing stereo depth in overhead microphones
Parallel EQ Techniques
Parallel EQ processing blends processed and unprocessed signals to achieve subtle enhancements. This technique preserves the original character while adding targeted improvements.
Implementation steps:
- Create an aux send for the source track
- Apply aggressive EQ on the aux channel
- Blend the processed signal to taste
- Adjust the balance for natural results
Surgical Vs. Broad-Band EQ
Surgical EQ uses narrow Q values to target specific frequencies, perfect for removing resonances or troublesome harmonics. Broadband EQ shapes the overall tonality with gentle slopes.
Surgical EQ best practices:
- Use narrow Q values (0.1-0.5) for precise cuts
- Target specific problem frequencies
- Keep cuts moderate (-3dB to -6dB)
Broad-band EQ guidelines:
- Wide Q values (1.0-2.0) for musical shaping
- Gentle boosts or cuts (±2-3dB)
- Focus on broad frequency ranges

6
Matching EQ Between Different Sources
EQ matching lets you analyze and replicate frequency characteristics between audio sources, creating consistency and professional-grade sound across your productions.

Reference Track Matching
EQ matching plugins analyze a reference track's frequency response and apply similar characteristics to your mix. Load your mix and reference track into separate channels.
Create a snapshot of the reference track's frequency spectrum using your EQ matching plugin. Apply the generated EQ curve to your mix, adjusting the intensity to taste.
Make subtle adjustments to the matched curve, focusing on key frequency ranges that define the genre or style. A matching strength between 30-50% often provides natural-sounding results.
Consistency Across Multiple Takes
Multiple recordings of the same instrument should maintain consistent tonal qualities. Identify the best-sounding take as your reference.
Use EQ matching to align the frequency response of other takes with the reference. Pay special attention to fundamental frequencies and important harmonics.
Common applications include:
- Matching drum samples with live recordings
- Blending different microphone positions
- Creating cohesive backing vocals
Commercial Standard Matching
Professional mixes serve as valuable references for achieving commercial-grade sound. Select reference tracks in your genre with similar arrangements.
Focus on matching broad frequency trends rather than exact curves. Key areas include:
- Sub-bass presence (20-60 Hz)
- Low-mid warmth (200-500 Hz)
- High-frequency air (10-20 kHz)
Using EQ Match Plugins
Modern EQ matching tools offer advanced features for precise tonal matching. Popular options include FabFilter Pro-Q 4, iZotope Ozone, and Logic Pro's Match EQ.
Set appropriate analysis times to capture frequencies accurately. Most plugins need 10-15 seconds of audio for reliable results.
Essential features to utilize:
- Smoothing controls
- Match intensity adjustment
- Real-time spectrum analysis
- A/B comparison tools

7
Key Takeaways For Equalization In Audio Mixing
EQ stands for equalization, a fundamental process of adjusting frequency volumes to enhance sound clarity in audio mixing.
Adding a gentle boost around 2-5 kHz brings out vocal presence, while boosting 10-15 kHz adds air and sparkle to vocals or cymbals.
Bass instruments benefit from subtle adjustments. A small boost between 50-80 Hz adds warmth and power to kick drums and bass.
Essential EQ Principles:
- Cut first, boost second
- Make small adjustments (1-3 dB)
- Listen in context with other tracks
- Trust your ears over visual displays
- Use high-pass filters below 20 Hz
Each instrument needs its own space in the frequency spectrum. EQ decisions should focus on creating separation between elements while maintaining their natural character.
Common Problem-Solving:
- Remove muddy frequencies (200-400 Hz)
- Cut competing frequencies between instruments
- Reduce harshness (2-4 kHz)
- Clear up low-end buildup (below 100 Hz)
Happy EQing!

Frequently Asked Questions
1
How can I properly equalize vocal recordings for clarity?
Start by cutting frequencies below 100 Hz to reduce rumble. Apply a narrow cut around 200-300 Hz to reduce muddiness.
Boost frequencies between 2-5 kHz to enhance vocal presence and intelligibility. Make subtle adjustments of 2-3 dB at a time.
2
What is the best way to set an equalizer for optimal speaker performance?
Begin with a flat EQ curve and adjust based on room acoustics. Cut frequencies that cause resonance in your space.
Make incremental adjustments starting with problem frequencies. Test changes with reference tracks you know well.
3
Could you guide beginners on using an equalizer effectively?
Start with built-in EQ presets as reference points. Learn to identify frequency ranges by practicing boost-and-cut techniques.
Use a spectrum analyzer to visualize frequencies. Make subtle adjustments rather than dramatic cuts or boosts.
4
What techniques should I use to EQ headphones for better sound quality?
Remove harsh frequencies in the 2-6 kHz range that can cause listening fatigue. Apply gentle cuts rather than extreme adjustments.
Aim for a balanced bass response without overwhelming the mids. Consider using reference tracks to compare your EQ settings.
5
What are the essential tips for EQ-ing in FL Studio to achieve a professional mix?
Use high-pass filters on non-bass elements to clear up low-end mud. Apply surgical EQ cuts to problem frequencies before making boosts.
Monitor your mix at different volume levels to ensure EQ changes work across all listening scenarios.
6
How do I find the ideal EQ settings for in-ear monitors?
Start with a neutral response curve and adjust based on personal preference. Remove any resonant frequencies that cause discomfort.
Test EQ settings while performing or moving to ensure they work in real-world conditions. Make adjustments in small increments of 1-2 dB.