


Mastering is the final step in audio production that can transform your tracks from good to great. By learning basic audio mastering techniques, you can ensure your music sounds polished and professional. Taking the time to master your mix ensures that your artistic vision is translated perfectly to the listener.
Basic audio mastering techniques involve several key processes, such as equalization, compression, and stereo enhancement, to optimize the final audio mix for various playback systems. The aim is to create a cohesive sound that translates well across all devices, from earbuds to high-end speakers.
This guide will walk you through the basics of audio mastering. From understanding essential techniques to using the right tools, you'll gain the knowledge and confidence to start mastering your own tracks. Discover the tips and tricks that audio production experts use to perfect their music through high-quality music mastering.
Key Takeaways / TL;DR
- Basic audio mastering techniques enhance tonal balance and dynamic range.
- Equalization and compression are essential processes in mastering.
- Proper gain staging and EQ techniques ensure professional sound quality.

1
Understanding Basic Audio Mastering Techniques
Mastering is the final stage of music production, and it involves critical basic audio mastering techniques that ensure your track sounds polished and professional.
Professionals use their skills to achieve a professional-quality sound that stands up to commercial releases. Mixing and mastering are distinct stages, but both are essential for a finished product.
Achieving a professional mastering result requires a keen ear and attention to detail. Many independent artists search for guidance on mastering music to gain full control over their sound. Knowing how to master a song effectively allows you to finalize your creative projects without relying solely on outside services.
Defining Mastering in Music Production
Mastering is the last step in audio post-production. It is about optimizing the final mix of a song for distribution. A mastering engineer adjusts levels and applies EQ and compression to enhance the track.
These adjustments ensure the song sounds good on all playback systems. To achieve a clear, balanced sound, mastering engineers use a range of tools and techniques.
Mastering also involves fixing any issues in the mix. This can include clicks, pops, or unwanted noise. Proper mastering makes a song consistent and ready for release.
Basic Audio Mastering Vs. Advanced Audio Mastering
Basic audio mastering involves simple techniques like normalization and EQ adjustments. Normalization adjusts a track's volume to a standard level. Another basic technique is top and tailing, which removes unwanted noises at the beginning and end of the track.
Advanced audio mastering goes further. It involves detailed work, like multiband compression and stereo width adjustments. Multiband compression targets specific frequency ranges, providing precise control over the audio. Adjusting stereo width ensures the track has depth and a fuller sound.
Basic mastering is a good start, but advanced techniques bring a higher level of polish. Mastering engineers with years of experience often handle complex and advanced mastering to achieve the best results.
Recently, AI mastering has also become a popular way for beginners to get a head start on their final sound.

2
Preparing for the Audio Mastering Process
Proper preparation is key to successful audio mastering. You must prepare your mix carefully to ensure that the final processing enhances rather than highlights flaws. You need to ensure that your mix has enough headroom and your listening environment is set up correctly for accurate sound assessment.
Evaluating the Mix and Headroom
First, assess your final mix. The relationship between mixing and mastering is vital, as a poor mix cannot be fixed in the final stage. Precise gain staging during the mix provides the necessary headroom for the master.
Make sure the levels are balanced and that no instruments overshadow others. Proper gain staging during the mix will provide the necessary headroom, which is the space between your highest peak and 0 dB. Aim for at least -3 dB of headroom to avoid clipping.
This extra space during mastering helps you apply processing like compression and equalization without distortion. This extra space during mastering helps you apply processing like compression and equalization without distortion.
Another key step is to listen for any issues in the mix. Address problems like harsh frequencies, muddiness, or inconsistent levels before moving on. Your final mix should be as polished as possible to make the mastering process smoother.
Discover Best Audio Gear & Equipment


Setting Up the Right Listening Environment
Your listening environment affects how you perceive sound. Use high-quality studio monitors or headphones designed for critical listening. Place your speakers in an equilateral triangle with your listening position to maintain stereo imaging. Avoid placing speakers against walls or in corners to reduce reflections.
Acoustic treatment is also important. Use bass traps, diffusers, and absorbers to control room acoustics. This minimizes sound reflections and ensures accurate monitoring.
Finally, check your mix on different playback systems. Test it on car speakers, earbuds, and home audio systems. This ensures your mix translates well across various devices, helping you identify issues that might not be noticeable in a controlled environment.
3
Essential Audio Mastering Techniques
Mastering audio involves several key techniques to ensure your tracks sound polished and professional. These techniques include mastering equalization, compression, and limiting to achieve optimal tonal balance, dynamic control, and loudness. Incorporating effective mastering tips into your workflow will ensure a higher-quality result.
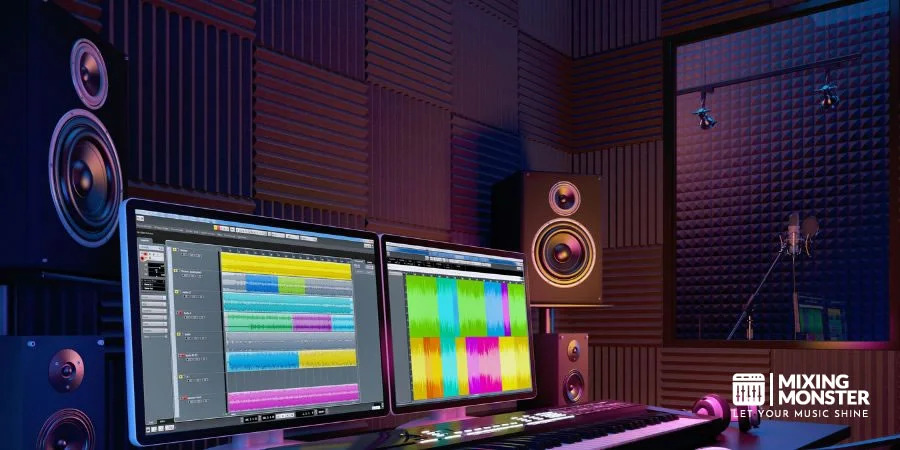
Mastering Equalization for Tonal Balance
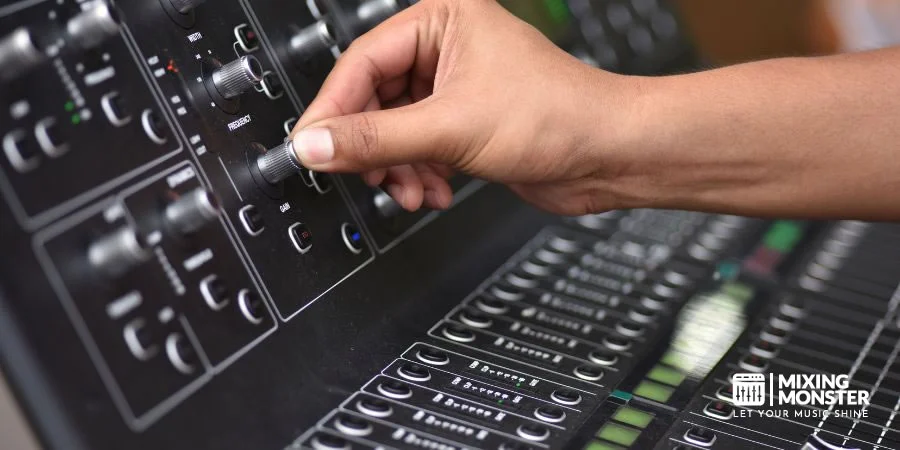
Mastering equalization (EQ) is crucial for achieving a balanced sound across all frequencies. Using EQ for mastering allows you to make broad tonal changes that affect the entire track. EQ adjustments help address issues like muddiness, harshness, and frequency imbalances. Use a parametric equalizer to target specific frequency ranges:
- Low-End (20-250 Hz): Boost or cut to manage bass levels.
- Mid-Range (250 Hz-4 kHz): Adjust to clarify or ease congestion in vocals and instruments.
- High-End (4 kHz and above): Tweak to brighten or soften the overall mix.
A subtle approach is best for maintaining frequency balance. Small adjustments yield the most natural results. Applying specific EQ techniques, like surgical cuts, can remove resonances that clash across the frequency spectrum.
Using a high-pass filter to remove unnecessary low-end rumble is one of the most common basic audio mastering techniques. It is important to use A/B testing frequently to ensure you are mastering EQ adjustments that actually improve the sound.
Conversely, a low-pass filter can help tame digital harshness at the very top of the spectrum. Make sure to A/B-test your changes to track your progress.
Mastering Compression to Control Dynamics
Compression in mastering is used to manage the dynamic range, making quiet parts louder and loud parts softer. A mastering compressor usually has a low ratio (1.5:1 to 2:1):
- Threshold: Set the level where compression begins.
- Ratio: Determine the amount of reduction applied.
- Attack and Release Times: Control how quickly compression starts and stops.
Focus on gentle compression to preserve the track's character while controlling peaks. Apply parallel compression to blend the original track with the compressed version for added depth. Properly managing levels and dynamics is the core of this process.
You can also use saturation to add harmonic warmth and cohesion to the mix. Proper use of compression and limiting together will help glue the track and stabilize the audio levels. Mastering the interaction between compression and limiting is key to a professional sound.
This type of dynamic range control is what gives modern music its consistent and powerful feel. Many engineers use these tools to prepare tracks for loudness normalization on digital platforms.
Your Song Mixed & Mastered By Mixing Monster


Limiting and Maximizing Loudness
A limiter maximizes track loudness without causing distortion or clipping. Incorporating peak limiting ensures that the signal stays within safe bounds while reaching the desired volume. Limiting ensures your track is competitively loud:
- Ceiling: Set to just below 0 dB to avoid clipping.
- Threshold: Used to increase loudness and density.
Brickwall limiting is common, ensuring no peaks exceed the set ceiling while increasing the perceived volume. This tool is essential for achieving commercial levels without compromising audio integrity. After limiting, monitor your track across different playback systems to confirm its consistency.
Essential Audio Mastering Techniques
| Technique | Purpose | Key Settings |
|---|---|---|
| Mastering Equalization | Achieve tonal balance | Low-End, Mid-Range, High-End frequencies |
| Mastering Compression | Control dynamics | Threshold, Ratio, Attack, Release |
| Limiting and Maximizing Loudness | Maximize perceived loudness without distortion | Ceiling, Threshold |

4
Mastering Equalization Adjustments
Mastering equalization involves precise adjustments to the frequency spectrum to achieve a balanced and clear sound. It requires careful consideration to address frequency imbalances without damaging the overall mix.
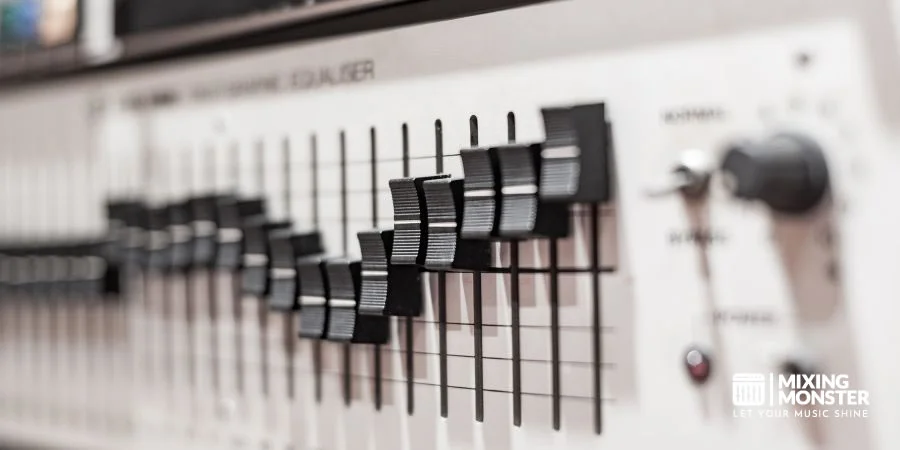
Sculpting the Frequency Spectrum
To start, you need to sculpt the frequency spectrum using an equalizer. This tool enables precise adjustments across different frequencies. Using a high-quality mastering EQ helps you maintain the overall frequency balance.
A spectrum analyzer, when used alongside your EQ, allows you to visualize where energy is concentrated. This helps you identify problem areas, such as boomy lows or piercing highs.
For low frequencies, tools like BASSROOM can help achieve a powerful balance. Boosting or cutting frequencies should be done gently to avoid sounding unnatural.
When shaping mids and highs, use broad-stroke adjustments for subtle changes. This helps enhance the track's overall feel without making the changes too obvious. Always listen carefully to how each adjustment impacts the whole mix.
Related Articles

Achieving Balance and Clarity
Achieving balance ensures that no specific frequencies overpower others. This balance is crucial to a track's sound professionalism.
To correct frequency imbalances, apply equalizer adjustments with care. A mix with too much bass can sound muddy, while too many highs can be harsh. Use your EQ to make small, incremental changes. Avoid large adjustments, which can damage the mix.
For clarity, isolate and reduce any problem frequencies that muddle the mix. Gentle boosts in the mid-range can often bring more life and presence to your track. Always compare your track against a well-mastered reference to ensure you're achieving the desired clarity and balance.
By paying close attention to these details, your mastering process will yield a well-balanced, clear final product.

5
Dynamic Range Processing In Mastering
Dynamic range processing is crucial in mastering. It helps manage the difference between the loudest and quietest parts of a track, ensuring a polished and professional sound.
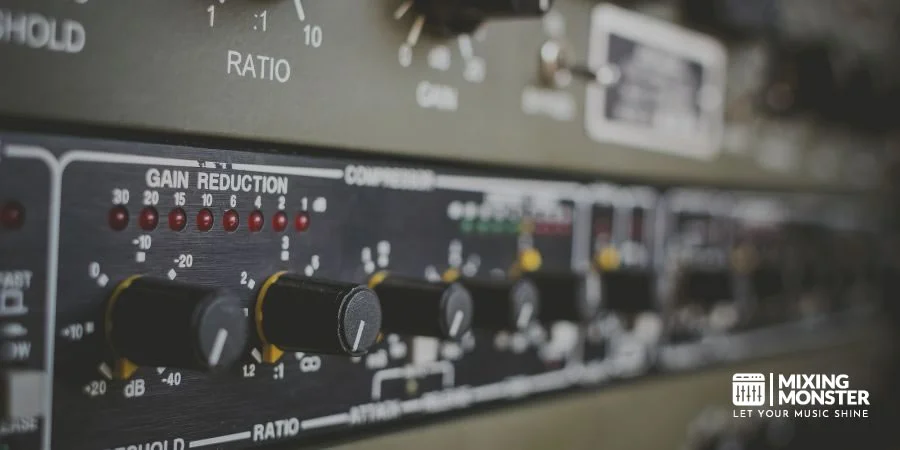
Dynamic Range Processing Techniques
Dynamic range processing helps control the volume levels within your tracks, providing a balanced sound. Compression is one of the main techniques used. A compressor reduces the dynamic range by lowering the volume of the loudest parts and raising the volume of the quietest parts.
Common compression settings you'll encounter are threshold, ratio, attack, and release. Gain reduction shows how much the signal is reduced, often displayed in decibels (dB). You must be careful not to over-compress, which can squash the track's dynamics, making it sound lifeless.
Different music genres may require varying dynamic ranges. Here's a table of genre-specific dynamic range values to guide you:
| Genre | Dynamic Range (dB) |
|---|---|
| Classical | 10 - 14 |
| Jazz | 8 - 12 |
| Rock | 6 - 10 |
| Pop | 4 - 8 |
| Electronic | 4 - 6 |
Understanding Threshold and Makeup Gain
The threshold setting in a compressor determines the level at which it starts to reduce the volume. For instance, setting a threshold at -10 dB means the Compressor will only affect signals above this level. Adjusting the threshold helps you control which parts of the track are compressed.
Makeup gain is used to compensate for the volume lost during compression. After applying gain reduction, you might find the track's overall level is lower than before. By increasing makeup gain, you restore the compressed signal to a desired level. This ensures the track remains punchy and clear, while still benefiting from the dynamic range processing.
Fine-tuning the interaction between the threshold and makeup gain is key to achieving a balanced, natural-sounding track. Proper use of these settings can make a significant difference in the final mastered version of your music.

6
Finalizing the Master
In this section, you will learn about crucial steps for finalizing your audio master, focusing on maintaining consistent volume levels and ensuring track consistency.
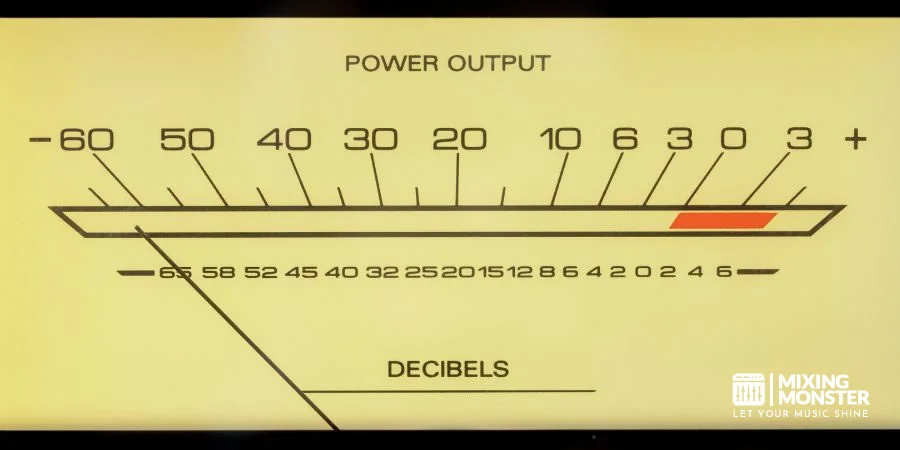
Volume Level and Loudness Standards In Mastering
Achieving the right volume level and loudness is critical to a polished final track. During mastering, ensure your tracks are loud enough to be competitive without distorting audio quality.
Applying loudness normalization aligns your track's average volume with a specified loudness standard. This ensures the track sounds equally good across different playback systems and streaming services.
Using a loudness meter and other forms of metering, you can measure levels to ensure effective loudness maximization. A dedicated Lufs meter is the industry standard for accurately measuring perceived loudness.
You can then adjust using limiters and compressors to enhance the final output quality. Be mindful of industry standards, such as LUFS (Loudness Units Relative to Full Scale). For streaming platforms, aim for around -14 LUFS.
The key is to balance volume without losing the dynamic range, ensuring that the listener experiences a balanced track.
Ensuring Consistency across Tracks
Consistency across tracks in an album or playlist ensures a smooth listening experience. You need to match the overall tonal balance, levels, and volume of individual tracks.
Listen to all tracks in a sequence to identify any inconsistency. Use EQ adjustments to balance the frequencies so that no track stands out oddly. Monitoring tracks across various playback systems helps spot discrepancies.
Adjust levels using volume automation to keep the tracks at a consistent loudness. Aim for similar dynamic ranges to prevent drastic jumps in perceived volume, enhancing the listener's experience.
Finally, ensure the tracks transition smoothly from one to another to create a cohesive, engaging final product. Don't forget that dithering should be the very last step. Applying dithering ensures your audio remains clean when reducing the bit depth for distribution.

7
Enhancing the Stereo Image In Mastering
Enhancing the stereo image in mastering involves techniques to widen the stereo field and ensure the track's energy is balanced. This leads to a more immersive and engaging listening experience.
Achieving a Wider Stereo Field
One effective way to increase stereo width is to use stereo enhancement plugins. Applying stereo widening creates a sense of space that feels natural. Strategic panning and stereo widening allow you to adjust the balance and separation of sounds across the stereo spectrum.
By carefully spreading elements, such as backing vocals and effects, to the left and right, you create an expansive sound stage.
Applying slight reverb can also help in widening the stereo image. You can choose between hall reverb for a larger sense of space or room reverb for a more intimate feel. This technique ensures the sound feels more spacious without overwhelming the main elements. But be very careful when applying reverb in audio mastering!
During this stage, it is critical to check for mono compatibility. Ensuring proper phase correlation prevents your mix from collapsing. Maintaining mono compatibility and phase correlation ensures your track translates to all playback systems.
You should always use a correlation meter to check that your stereo enhancements aren't creating phase issues that could lead to signal loss in mono. By utilizing mid-side EQ, you can clean up the center of the mix while enhancing the clarity of the side signals independently.
When using pan automation, place crucial elements like vocals, bass, and kick drum near the center to maintain focus. Proper panning of supporting instruments, such as guitars and synths, helps define the outer edges of the stereo field. Regularly reference your mix in mono to ensure no elements disappear when the track is played on less advanced systems.
Using mid/side processing is another technique for stereo imaging. By adjusting the levels of mid (center) and side (stereo) signals, you can fine-tune how broad or narrow the stereo field feels.
Assessing and Improving the Energy of the Track
Begin by listening to your reference tracks. Comparing your mix to these helps identify whether your stereo imaging holds up in terms of energy and spatial quality. This step ensures the sound quality aligns with industry standards.
Using dynamic range compression can help control loudness fluctuations and maintain a consistent energy level. This technique enhances stereo width by making quieter parts more audible without overshadowing louder sections.
EQ adjustments are crucial in targeting specific frequencies that may need enhancement or reduction. For example, reducing low frequencies in the side channels can prevent muddiness and improve clarity.
Performing an A/B test by comparing before and after processing will help you determine the effectiveness of your stereo enhancement efforts. This practice ensures that stereo imaging doesn't compromise the track's coherence.
For detailed guidance on balancing the stereo field, consult this guide.
8
Mastering Tools and Mastering Software
Mastering audio involves using various tools and software to enhance the final sound. You need the right combination of plugins, tools, and software to produce the best quality.
Choosing the Right Mastering Software
Selecting the right mastering software is crucial. A Digital Audio Workstation (DAW) can make a significant difference in your mastering process. Popular options include iZotope Ozone, which offers comprehensive mastering features. This software includes modules for equalization, compression, and stereo imaging.
Another well-known software is the Waves Abbey Road TG Mastering Chain. Known for its precision, it allows you to emulate classic analog mastering gear. FabFilter Pro-L 2 is also widely used for its advanced limiting capabilities, ensuring your tracks peak without distortion.
Popular Mastering Plugins and Tools
Mastering plugins and tools is essential for achieving a polished sound. Common plugins used in mastering include equalizers, compressors, limiters, and stereo imaging tools. Equalizers help balance the frequencies, while compressors manage the dynamic range.
Limiters are vital to ensure the track does not peak above 0 dB, preventing distortion. Stereo imaging tools enhance the stereo field, providing a sense of width and space. Some popular plugins include iZotope Ozone and FabFilter Pro-Q.
For those who want an automated approach, a service like LANDR can analyze your track automatically. Using LANDR is a fast way to apply basic audio mastering techniques to your project.
For a detailed approach, ensure your mastering chain includes the following tools:
- Equalizer (EQ): Balances frequency response.
- Compressor: Controls dynamic range.
- Limiter: Prevents clipping.
- Stereo Imaging Tool: Enhances the stereo field.
Using these tools, you can achieve a professional-sounding master that translates well across different playback systems. By carefully selecting and applying these tools, you can ensure your final product stands out.
9
Monitoring and Referencing In Mastering
When mastering audio, it is crucial to have a high-quality monitoring system and to use reference tracks for comparison. These elements ensure that your final mix has the proper clarity, balance, and sound quality.
The Importance of High-Quality Monitoring Systems
To achieve the best results in mastering, you need reliable and accurate monitor speakers. High-quality monitors let you hear every detail in your mix. The position of your speakers also matters. Studio monitors should be placed carefully, as incorrect placement can distort the sound and make it harder to judge the mix accurately.
You should also consider using professional headphones as an additional tool. Headphones can provide another perspective on the mix, especially in environments where speaker monitoring may not be ideal.
A proper monitoring output level is important, too. Keep your listening levels consistent to avoid ear fatigue and ensure better judgment. Monitoring the SPL in your studio helps you maintain a safe, consistent level throughout the day.
Utilizing Reference Tracks for Comparison
Reference tracks are professionally mastered tracks that you can use as benchmarks during the mastering process. These tracks help you compare your work against industry standards. By doing so, you can identify areas in your mix that might need improvement.
When selecting reference tracks, choose ones from the same genre as your project. These tracks should share similar dynamics, stereo width, and tonal balance. Regularly comparing your mix with a reference track helps maintain quality and consistency.
Using reference tracks effectively involves critical listening. Pay close attention to the clarity and balance of the reference track. Aim to match these aspects in your own mix, ensuring that your final master sounds professional and polished.
10
Technical Considerations for Distribution
When mastering audio for distribution, it's important to account for different formats and ensure the mastered track sounds good across all playback systems.
Format-Specific Mastering
Different formats require unique mastering techniques. For instance, mastering for vinyl involves managing low frequencies to prevent the needle from jumping. This often requires greater attention to bass levels than in digital formats.
On the other hand, digital distribution platforms like streaming services need your tracks to comply with specific loudness levels. For example, Spotify and Apple Music have their own loudness standards. This means you will need to normalize your track to avoid the platform automatically adjusting it, which could degrade your audio quality.
Maintaining Quality on Various Playback Systems
Your mastered track should maintain high quality across a variety of playback systems. This means you must consider how it will sound on everything from high-end speakers to basic earphones.
One technique to achieve this is to regularly test your master on different systems during the mastering process. This could include car speakers, smartphone speakers, and home stereos. By doing so, you ensure the track delivers a consistent listening experience across all playback devices.
Balancing the dynamic range and stereo image is also crucial. You don't want the track to sound great on one system but fall flat on another. This involves careful adjustments and, sometimes, separate mastering sessions for different formats.
11
Key Takeaways For Basic Audio Mastering Techniques
1. Start with a Balanced Mix
Before mastering, ensure your mix is balanced. This involves getting the right levels and ensuring each element is heard clearly.
2. Export High-Quality Files
Export your mix as a high-quality WAV file. Using a WAV format at 24-bit depth ensures you maintain the highest quality.
3. Use Equalization (EQ) Effectively
Adjust the EQ to balance the frequencies. Enhance or reduce specific frequencies to ensure a clear, clean sound.
4. Control Dynamics with Compression
Compression helps control the dynamics of your track. Use it to ensure even levels throughout and to bring out quieter elements.
5. Maintain Loudness Consistency
Use limiters to achieve a consistent loudness level. This prevents clipping and distortion while maintaining clarity.
6. Adjust Stereo Imaging
Enhance the stereo width and depth of your track. Ensure your track sounds good on both mono and stereo systems.
7. Check on Multiple Playback Systems
Listen to your mastered track on different systems, such as headphones, speakers, and car audio, to ensure it translates well across them.
8. Use Reference Tracks
Compare your track with professionally mastered songs in the same genre. This helps you set a quality benchmark.
9. Less is Often More
Avoid over-processing. Subtle adjustments can have a significant impact on the overall quality.
10. Take Breaks
Give your ears time to rest. Take regular breaks to avoid ear fatigue.
11. Learn and Experiment
Mastering is an art and science. Keep experimenting and learning new techniques to improve your skills.
Happy mastering!

Frequently Asked Questions
1
What are the essential steps to master audio effectively?
To master audio effectively, you need to adjust room acoustics, apply equalization for tonal balance, and use compression to manage dynamics. Enhancing with stereo imaging and volume boosting with a limiter are also key. Finalize the track to ensure it sounds consistent across various playback systems. Learn more in this guide on mastering audio.
2
What is the ideal decibel level for a mix before mastering?
The ideal decibel level for a mix before mastering is usually around -6 dB to -3 dB. This ensures there is enough headroom for mastering adjustments without causing clipping or distortion. Maintaining this headroom is crucial for a clean, professional final product.
3
Which audio format is preferred when preparing for mastering?
When preparing for mastering, the preferred format is typically a high-resolution WAV or AIFF file. These formats provide better sound quality because they are lossless and uncompressed. Aim for a bit depth of 24-bit or higher and a sample rate of at least 44.1 kHz.
4
How can I master a song in Logic Pro?
To master a song in Logic Pro, start by importing your mix. Use tools like the Channel EQ for equalization and the Compressor to control dynamics. Apply a Limiter to prevent clipping and enhance the volume. Utilize the Multimeter to analyze the track's balance and adjust as needed. Save your final mastered track in the desired format.
5
What are some advanced techniques for mixing audio professionally?
Advanced techniques for professional audio mixing include mid/side processing to control stereo width and multiband compression to fine-tune different frequency ranges. Implement parallel compression for added punch and depth. Automation can dynamically adjust levels and effects throughout the song. For more tips, explore these audio mastering techniques.
6
Can mastering be done efficiently with online tools, and if so, which are recommended?
Yes, mastering can be done efficiently with online tools. Recommended tools include LANDR, which offers automated mastering, and eMastered, known for its user-friendly interface. These tools provide a quick way to master tracks with professional results. For more options, check out this audio mastering guide.